You have finished the lessons in a cinematography course and know more terminology. But when you stand behind the camera, can you choose a useful shot, produce it and explain your decision? To see what you have learned, film a small scene before training, repeat it afterwards and compare your decisions—not just how attractive the footage looks.
This is a suggested self-assessment exercise, not an accredited test or a promise about any particular course. Use the phone or camera you already have. Keep the conditions as consistent as practical, and save your first attempt.
Before enrolling, define what you want to do independently
Replace a broad goal such as “become a professional” with a specific task: record an intelligible conversation, light a product, or build a short scene from connected shots. Compare that task with the actual syllabus, practical activities and feedback available. A large lesson count alone does not tell you whether a course meets your needs.
Explore the current learning paths at MID FILM Academy and read their details before choosing. The academy pages are in Arabic. Ask about prerequisites, practical work and whether your work will be reviewed. Do not assume personal sessions, equipment or a particular certificate are included unless that is clearly stated.
One exercise can reveal more than a beautiful shot
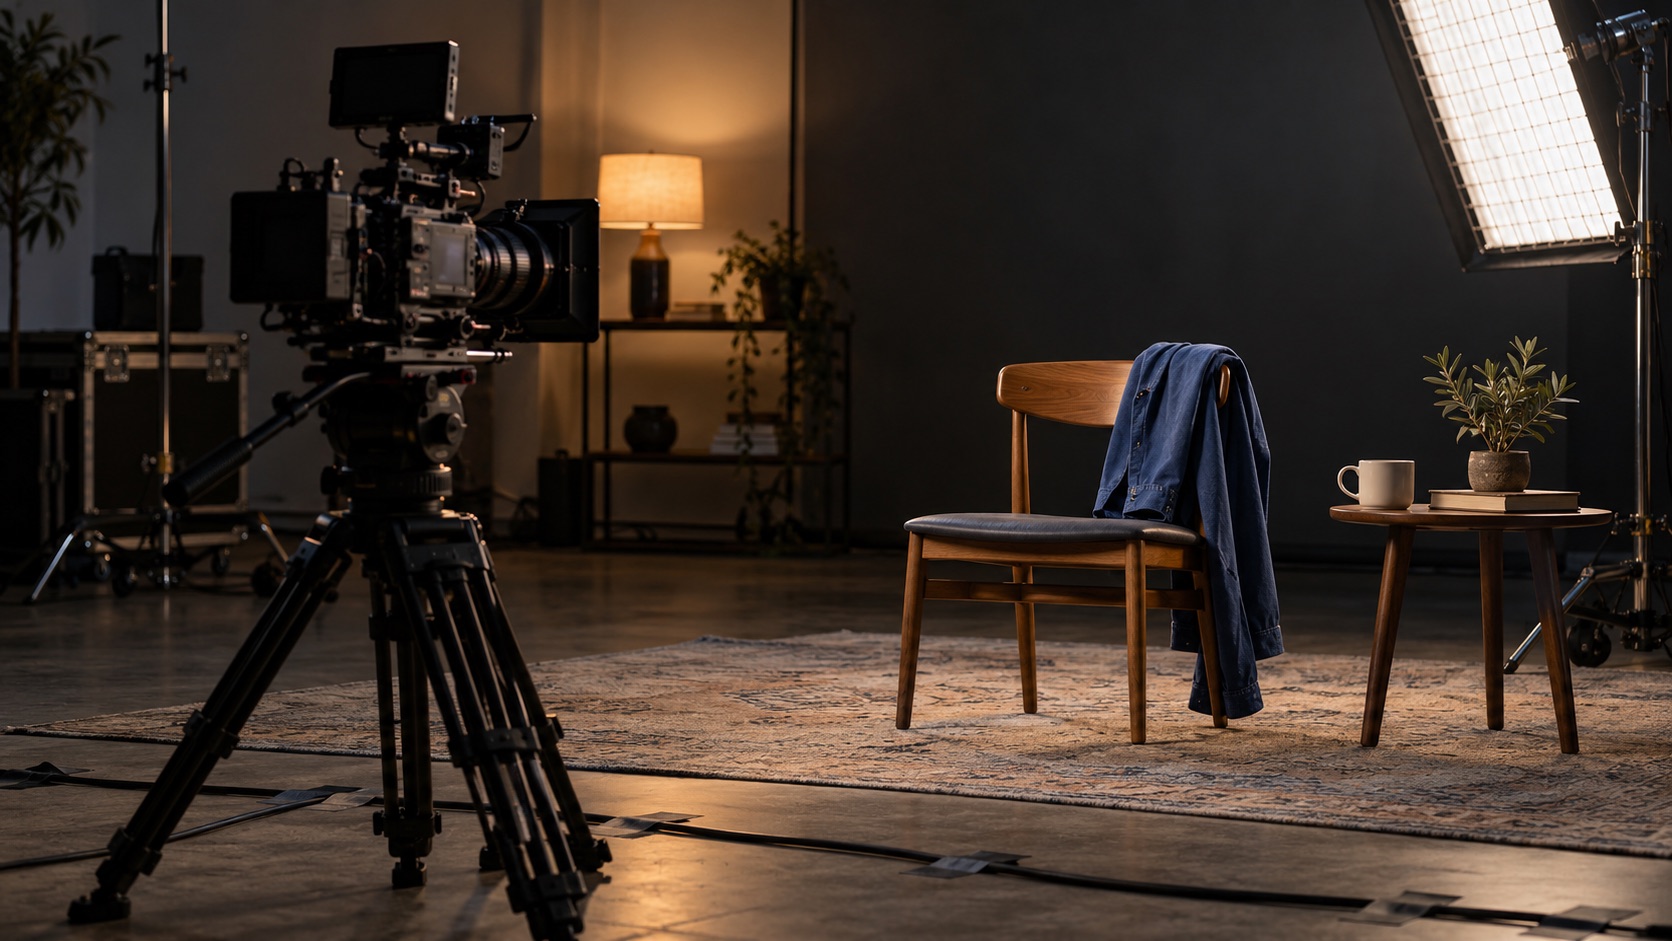
Try a 20–30 second scene: someone prepares a cup for an expected guest, places it beside an empty chair and hears a knock at the door. This is a fictional practice example. You can show only hands and objects rather than a face. Prepare a chair and cup, and choose a quiet location with safe, available lighting.
Plan four shots: a wide view establishing the location, a medium shot of the hand placing the cup, a close detail showing the preparation, and a shot of the chair with the knock. Each shot needs a purpose. If a detail looks attractive but adds no information, remove it and check whether the scene becomes harder to understand. Our guide to planning a short film covers the broader preparation process.
Record your first attempt without hiding its weaknesses
Film with your current resources and note the camera position, light source and approximate distance to the subject. Keep the original picture and sound files. Avoid loud music or rapid effects that conceal an unclear transition or weak audio. This attempt establishes a starting point; it does not need to be ready for publication.
Before filming, list the shot size, action and sound you need for each setup. Use the list as a reminder during the exercise, and adjust it if you discover a clearer way to show the action.
Review five areas and record evidence for each comment
Clarity: show the scene to someone unfamiliar with it and ask what they understood before explaining it. If they understand that a guest is expected, the idea has come across. If it needs an explanation, note the missing information and a shot that could communicate it.
Composition and lighting: does attention go to the cup or intended action, or to a distracting background? Are important details visible? Compare adjacent shots and look for unintended changes in light or colour.
Continuity: do the cup, jacket and hand remain in logical positions between cuts? Check the moment the cup is placed down. A sudden change in position can interrupt the sense of continuous action.
Sound: is the knock clear without being uncomfortably loud? Does background noise change abruptly between shots? Listen on headphones and then on a phone speaker. Do not judge sound from the waveform alone.
Coverage and editing: do you have enough shots to make the beginning and ending understandable? If editing stalls because an essential shot is missing, add it to the next attempt’s plan. Understanding how preparation, filming and editing connect is part of film production, beyond learning camera settings.
After training, change one decision and compare
Repeat the scene in the same location with the same equipment where practical. Choose one issue from your review: a distracting background, harsh lighting or a missing transition. Address its cause, then compare the versions. Changing the lens, lighting, location and edit all at once makes it harder to identify what helped.
Keep three fields in your notes: observation, adjustment and result. For example: “The cup disappears into the background; I changed the camera angle and simplified the area behind it; the action is clearer in the medium shot.” If it did not improve, record that too and plan another experiment. These are useful observations, not a final score of your ability.
What if the course uses AI?
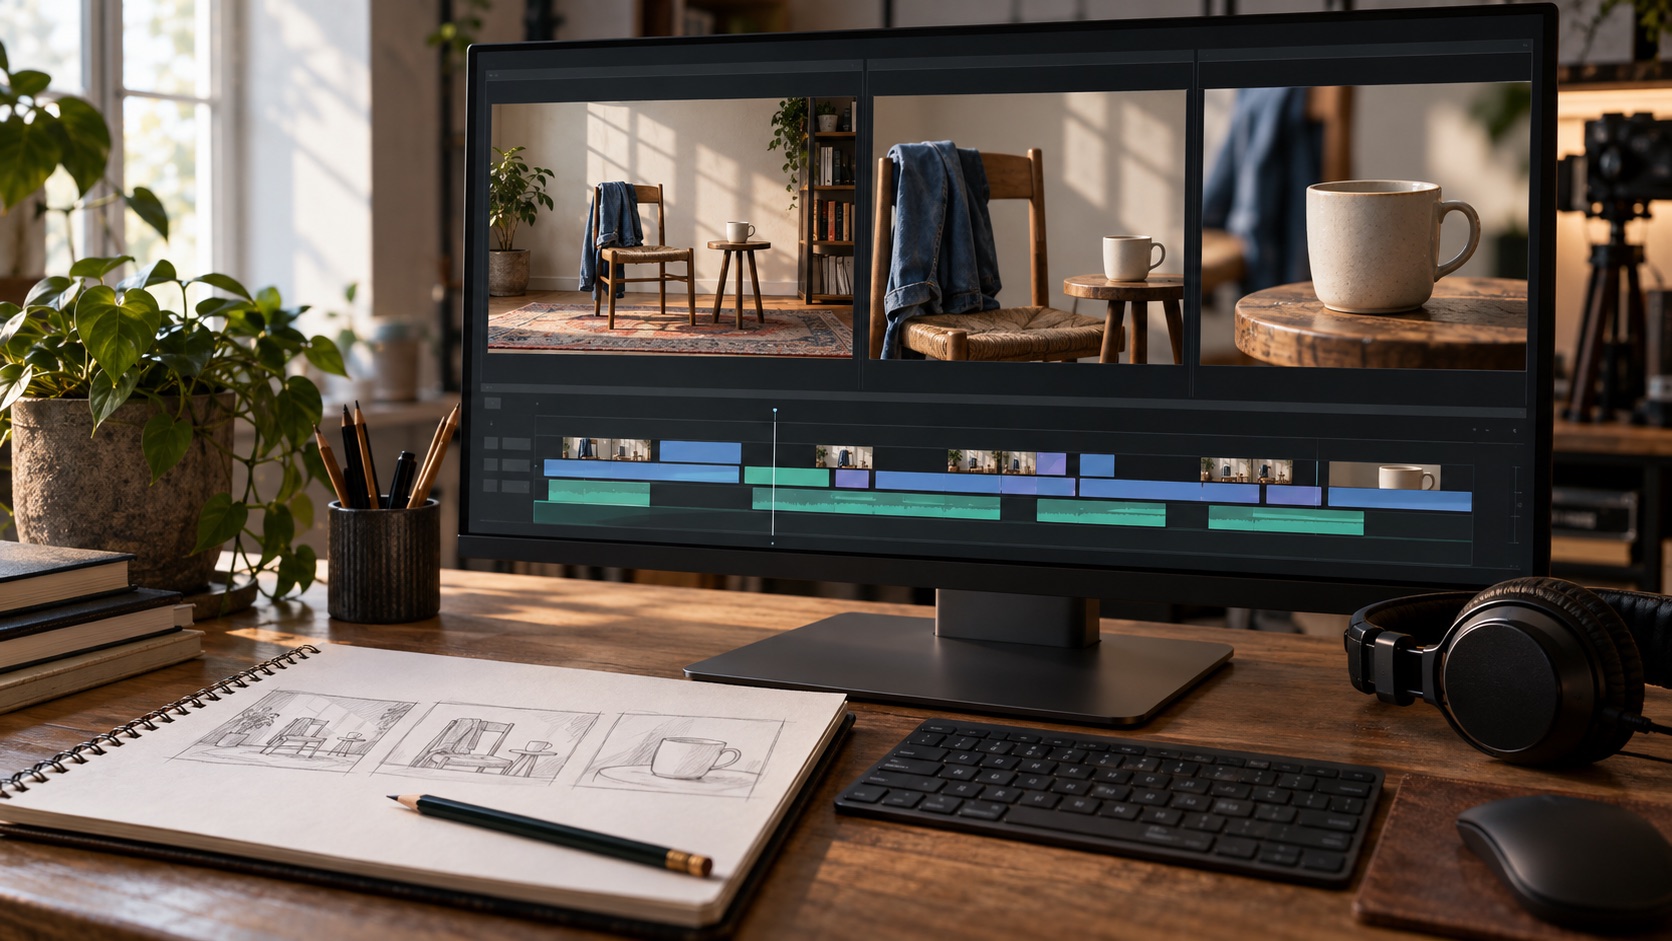
Separate your ability to generate a visual concept from your ability to film it. A generated board can help discuss colour and composition, but it does not demonstrate that you can record sound or light a real location. Keep both the concept and the footage, and note what you could reproduce and what needed to change.
Before choosing that route, review the current syllabus for the AI-supported cinematic directing and cinematography course on the Arabic academy site. Decide whether you need visual development, hands-on camera work or both. Ask about the relevant practical component rather than assuming the title covers every goal.
How do you know you have made progress?
When you can explain a shot, spot a problem, propose an adjustment and test it, you have something concrete to compare with your starting point. A perfect film is not required. Keep two versions and three specific observations; that tells you more than simply saying “my cinematography is better”.
If you want to check which learning path fits your goal, contact MID FILM and describe the skill you want to develop. Include your current level, available equipment and the type of scene you want to master so your question is specific and easier to answer.